
This post may contain affiliate links. These help support this website.

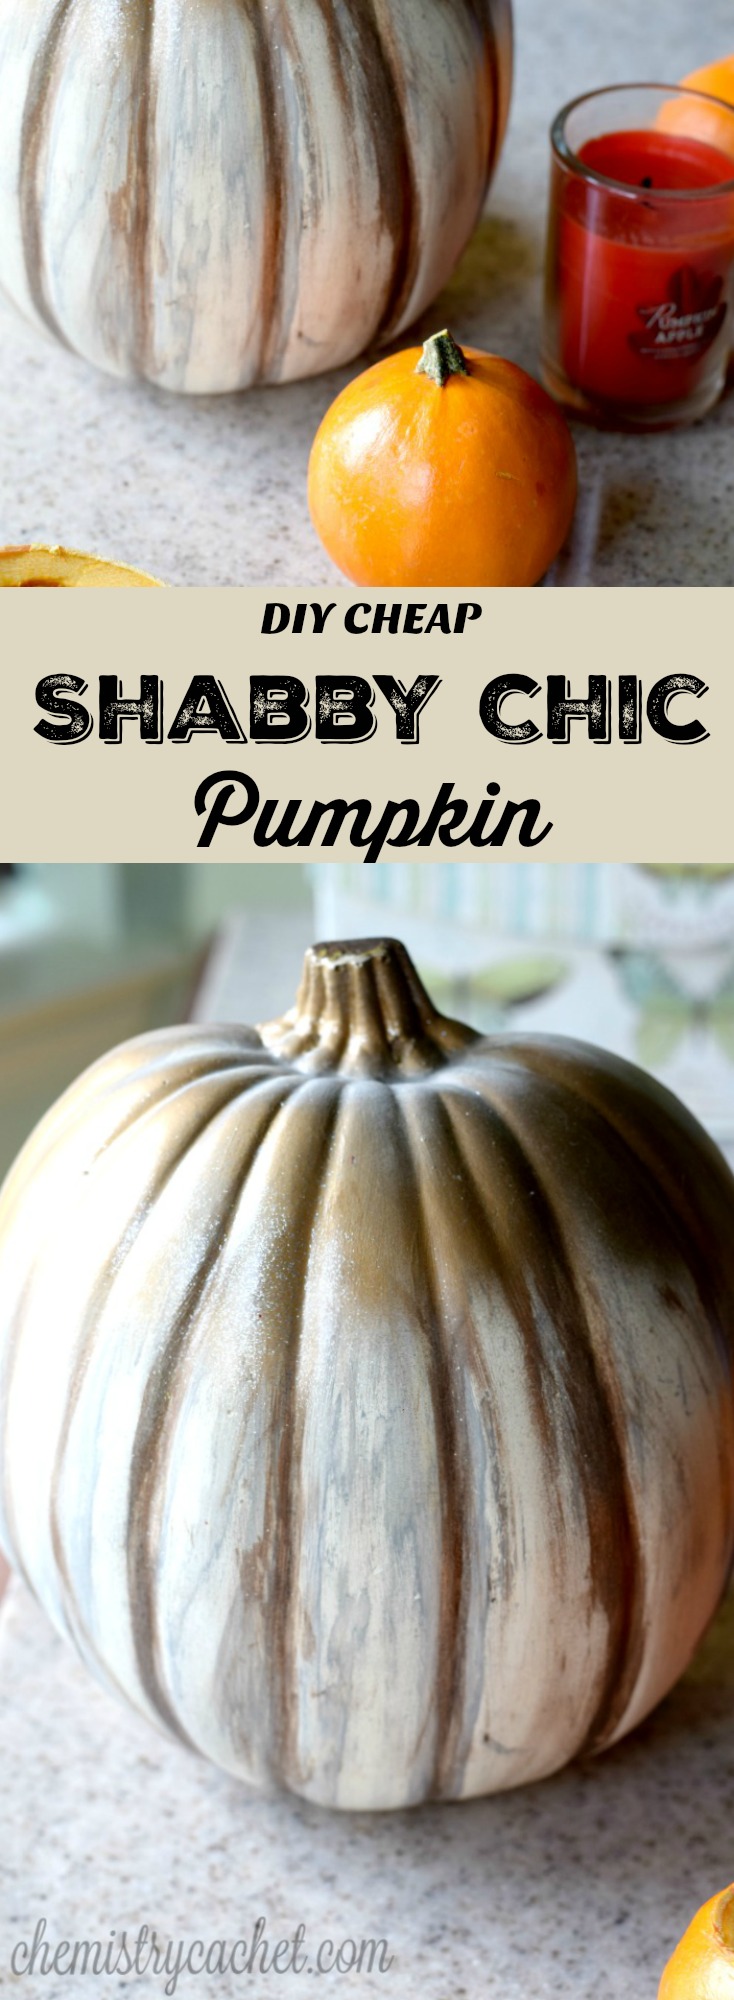
Shabby Chic is one of my favorite looks, especially for fall. It is so classy and subtle which can easily transition into beautiful Thanksgiving decor.
After sharing my fall decorations on instagram the other day, I had many questions about this pretty pumpkin! Everyone wanted to know where I got it. So, I wanted to share it with you today.
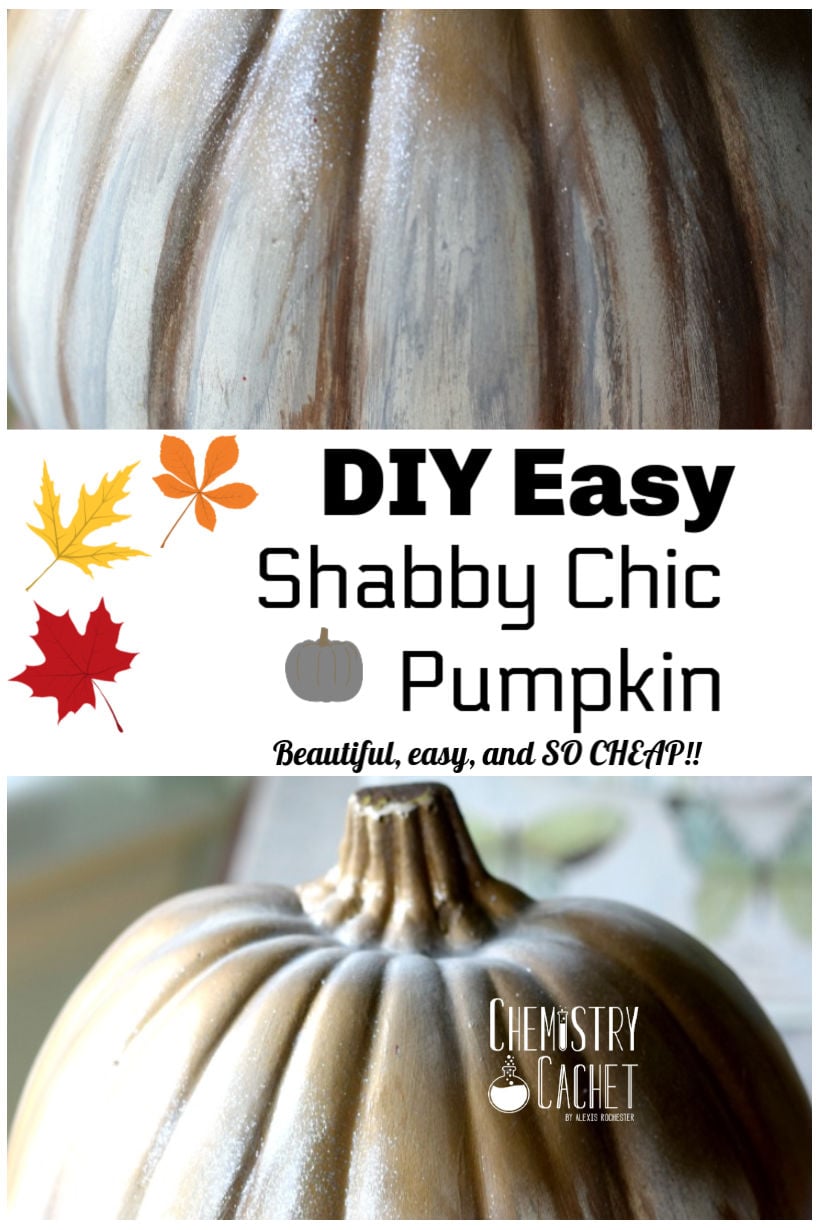
I saw some beautiful shabby chic craft pumpkins at an antique store a few weeks ago. The price tag was not so pretty, $28.00 a piece! And they were small. So, I decided to recreate the same look on my own with some dollar store pumpkins. This easy DIY cheap shabby chic pumpkin that is totally perfect for anyone to try out!
DIY Cheap Shabby Chic Pumpkin
Supplies:
- Craft pumpkin (dollar store ones work great, anything cheap is good!)
- White Chalk Paint
- Acrylic Paint in various colors ( I used this orange and this gray)
- Gold spray paint
- Glitter spray paint
I bought white pumpkins already cut in half, but you can use any kind of pumpkin in any color. It can be a whole pumpkin, orange, or whatever you can find. That is the great thing about this project!
Step One:
Paint pumpkin completely with white chalk paint. This is especially important if you bought an orange pumpkin. This will only take a few minutes to dry.
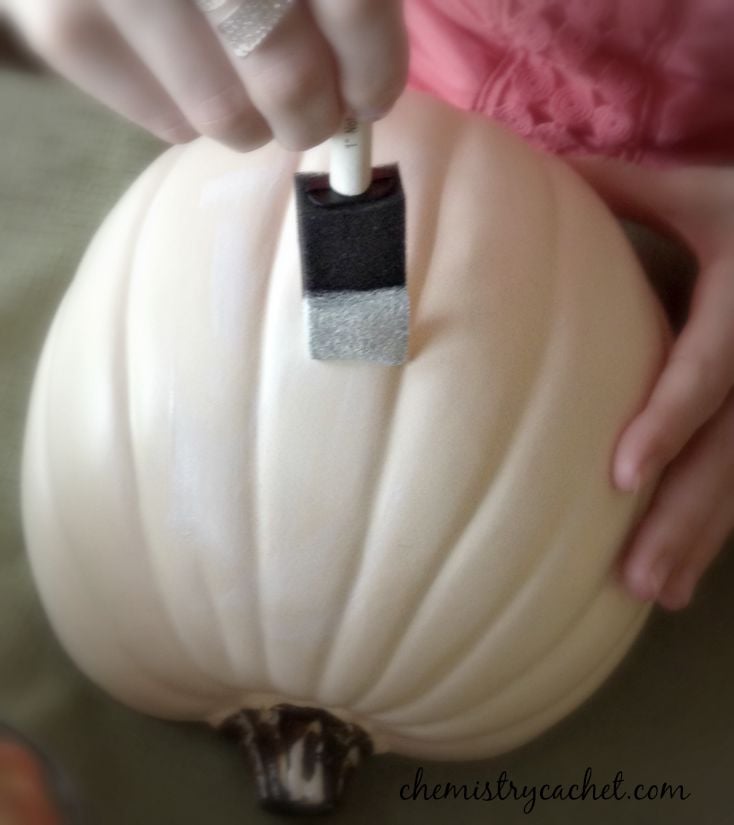 Step Two:
With a different color in acrylic paint, add it to creases , then with a towel or sponge, blend it. Orange was for one pumpkin and gray was used on the other. It should create a chippy look as shown in second picture. The key to this step is to add it a little bit heavier in the crease, so it will appear darker.
As you rub out the creases, it will start to have that shabby look.
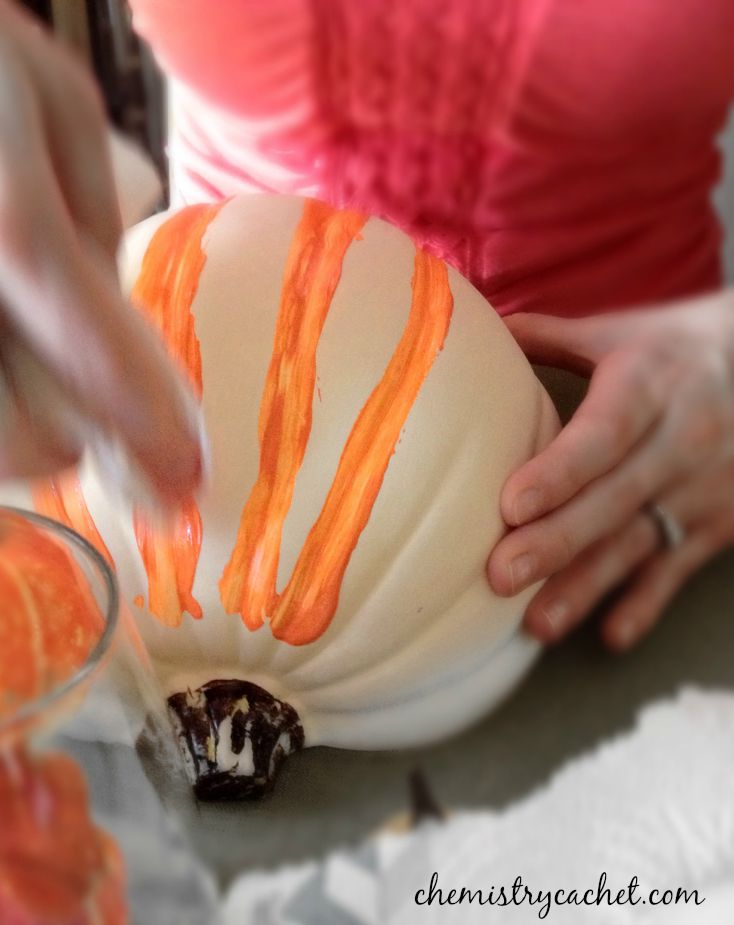
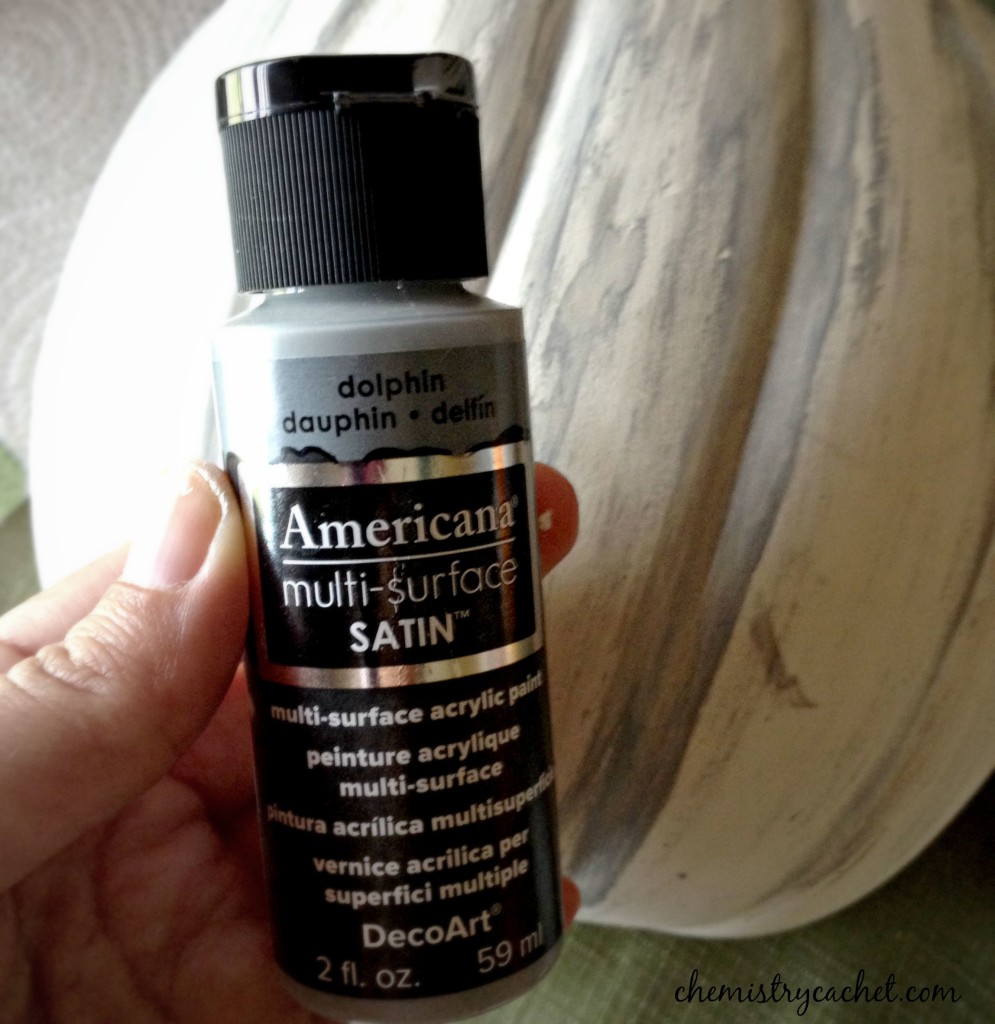 Step Three:
Once that is done, move on to another color. With the other acrylic color, repeat step two. This will give just another layer.
Step 4:
Spray paint the top of the pumpkin with gold, creating an uneven look. Then lightly spray with glitter spray paint!
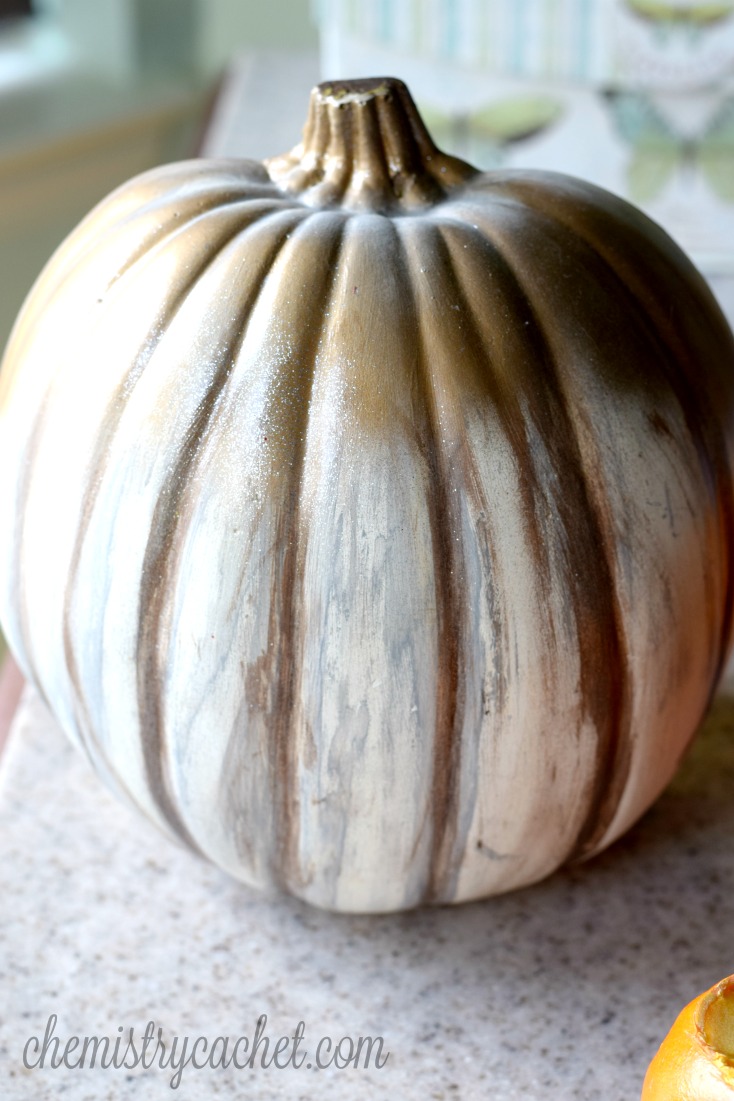
And there you have it! Very simple and much more affordable than buying them 🙂
This was a project my friend and I did together for our annual pumpkin party.
Do you love the shabby chic look?
Don’t forget to sign up for the monthly newsletter!


Follow on Facebook | Bloglovin | Twitter | Instagram | Pinterest | Hometalk

Chemistry Hacks For Home and Outdoors
Quick hacks to save time, money, and eliminate unnecessary chemicals!
An easy to use eBook full of over 30+ DIY solutions for cleaning inside and out!














So, I am not real good with do it yourself things like this so I am happy to read your blog 🙂 You make it seem like I could, lol.
Thank you Julie! This is such an easy DIY, you can definitely do it! 🙂
You’re so creative with crafts and paints! Love your work! Maybe I’ll take a class/workshop and learn to use paints and not cover myself in them!
Aw you’re so sweet! Well if you lived close I would love to help you 🙂 Thanks Laurie!
Alexis, I love the result! The sponge you use, is it wet or dry?
Thanks for sharing! #OMHGWW
Hugs,
Pili
Hi Pili, I use a dry sponge 🙂 Thanks so much! Have a great day!
Just the project I was looking for! Thanks for sharing.
Awesome, I hope you get to make it soon 🙂
This is a really great technique. It looks so pretty. Thanks for sharing with us.
Thanks Mary!
So creative! I love all the effects you used to create this cool pumpkin!
Thanks AnnMarie, it was fun seeing how it turned out!
LOVE this project idea! I have just about everything I need to recreate my own version, too. It’s going on the list for the weekend 🙂
Thank you! It is really easy and fun!
Oh goodness I need to see if the Dollar Store stil has some pumpkins, they would work much better than real, were sill having way to warm of temps, they would not last.
Thanks for sharing on #OMHGFF this week.
That is what I was thinking as well Karren, still 90+ in Texas, so fake pumpkins are the best 🙂
Fake pumpkins in TX is truly the only way to go! These are so classy and can definitely be taken in to November! Thanks for sharing with us at Waiting on…Wednesday! Hope to see you back this week!
No Kidding! It was 99 yesterday! Ugh!
love your shabby chic pumpkin – Thanks for linking up to Pin Worthy Wednesday, I have pinned your post to the Pin Worthy Wednesday Pinterest Board.
Thanks so much!
Your pumpkin looks great! Thanks for the how-to!
Thanks Lisa! We had fun making it 🙂
Thanks for the great instructions. This is beautiful!
Thanks Sherry! It is one of my favorite fall items now 🙂 Such a pretty addition!
Thanks for the great idea. I love it. !
Thanks Charlene! It’s one of my favorite fall decorations 🙂
Visiting from Oh my Heartsie Girl’s Wednesday pary! – I love this project!! Would love to have you join the Pleasures of the NW’s DIY party!
http://www.pleasuresofthenw.com/diy-party-23/
Thank you! I just stopped by to join 🙂
Super cute! Thanks for sharing at Merry Monday! 🙂
Thank you! 🙂
Really cute! I absolutely love the finished look. Thank you so much for joining us at Dishing It & Digging It. Hope to see you back again this week!
Thanks so much! I love how they turned out 🙂