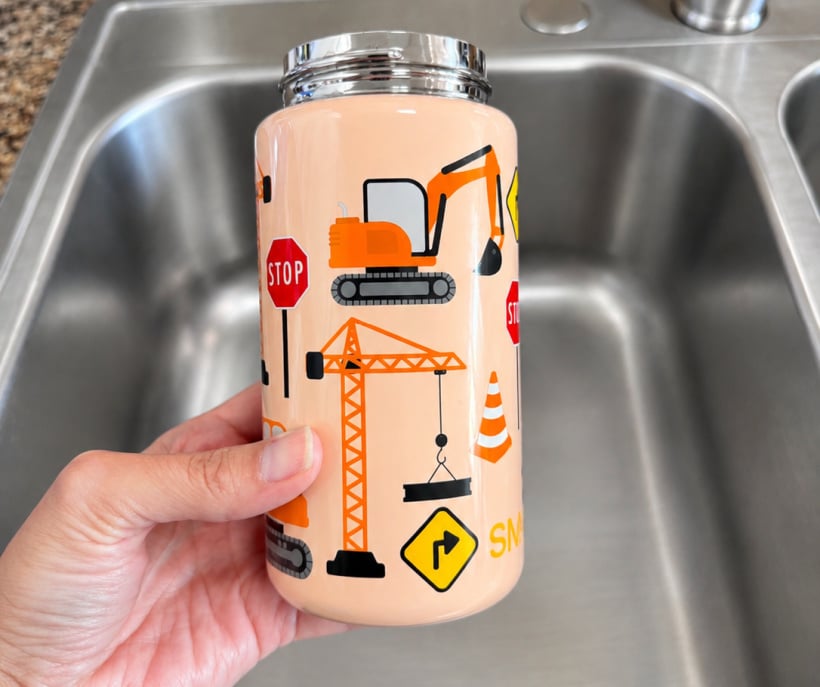
You wash your child’s water bottle after school, leave it on the counter, and notice the same sour smell the next morning. The bottle looks clean. You’ve rinsed it twice. So why does it still smell as though yesterday’s drink never left?
To understand why reusable water bottles still smell after washing, look beyond the main container. Once you know where to check, you won’t need an expensive cleaning product or another replacement bottle every few weeks.
Start With the Parts Your Sponge Never Reaches
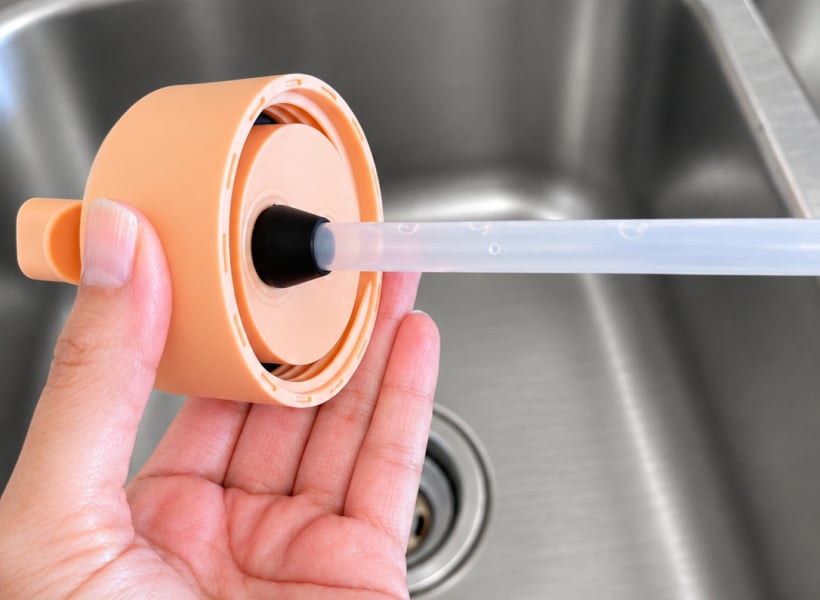
Focus on the lid first. Many reusable bottles include a silicone sealing ring seated inside a narrow groove. Each time you tip the bottle to drink, moisture contacts that area. A quick rinse rarely reaches underneath the ring.
Disassemble the lid according to the manufacturer’s instructions. If the gasket comes out, gently remove it and check the channel underneath. You may find a slippery film or a stale smell even when the bottle’s interior looks spotless.
Clean the groove using a small, soft brush with warm soapy water. Wash the gasket separately, then rinse both pieces thoroughly. Avoid digging under the seal with a sharp knife, since damaged silicone will not create a reliable seal.
Even Plain Water Leaves Something Behind
It’s tempting to assume a water-filled bottle doesn’t need much cleaning. Yet every sip brings the drinking surface into contact with your mouth. Saliva and tiny traces of food transfer to the spout, while your hands touch the lid throughout the day.
Normal contact introduces microorganisms to these surfaces. Leftover moisture allows them to multiply. Some microorganisms also form biofilms, which are communities of microbes that attach to a surface within a protective matrix. Swirling clean water through the bottle does not simply remove them.
A small 2024 study of everyday water bottles found microbial contamination in both stainless steel and plastic bottles. Washing reduced the measured microbial load. While this study does not mean every smelly bottle contains dangerous pathogens, it reinforces the value of regular cleaning.
Use the Right Brush for the Job
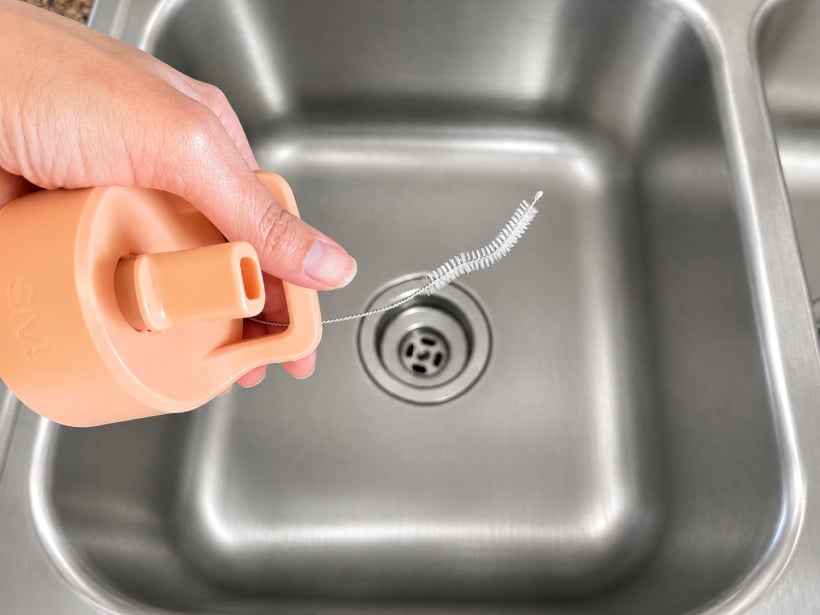
Choose a bottle brush with soft bristles long enough to reach the bottom. Work it along the inner walls and around the lower edge where residue collects. For a drinking straw, use a narrow brush that passes through its entire length.
Do not rely on an occasional soak to replace brushing. If you notice a film, remove it physically with soap and the appropriate cleaning tool. Additionally, follow the manufacturer’s instructions if a bottle requires sanitizing, especially for young children or anyone with additional health concerns.
Give the Entire Bottle a Proper Wash
Five minutes at the sink often accomplishes more than leaving a closed bottle full of detergent water overnight.
For everyday cleaning, use this order:
- Empty any leftover drink and separate the removable bottle parts.
- Fill your sink up with warm soapy water, and allow the water bottle to soak for 5-10 minutes.
- Next, with a clean sponge or scrubber, scrub the lid grooves and clean the straw with a Straw Cleaning Brush.
- Rinse each component until all soapy residue is gone.
- Place the pieces on a clean drying rack with room for airflow.
Inspect flip-up spouts carefully. Residue often collects around the hinge, especially when kids take bottles to school and set them down between activities.
Don’t Close the Lid While Parts Are Damp
Many people make this common mistake: After washing the bottle, they screw the lid back on and put it in the cabinet. This traps moisture where air cannot circulate. Even if you cleaned it earlier, a damp gasket or straw can still develop a musty odor.
Leave the bottle open until every component dries completely for better results. Shake excess water from the straw before placing it on a rack. Position the bottle so air circulates through the opening, rather than setting its rim flat on a damp countertop.
Know What Your Bottle Material Can Handle
Many families choose metal bottles because they withstand daily use. Yet durability does not mean every cleaning chemical is appropriate.
This guide can help you understand what makes stainless steel distinct. Stainless steel contains chromium, which forms a thin protective oxide layer on its surface. This layer helps resist corrosion, but it does not make the bottle self-cleaning. While a stainless steel body may remain in good condition for years, a silicone gasket wears out much sooner. Treat the seal as a separate component when checking odors.
Check the manufacturer’s heat limits for plastic bottles. Pouring boiling water into a bottle or placing it in the dishwasher without approval can warp components and damage the seal.
Handle Mineral Buildup Differently Than Food Residue
Sometimes you may notice a chalky white film inside a bottle. Hard water contains dissolved minerals that leave deposits as water evaporates. These deposits differ from the sticky residue flavored beverages leave.
If the instructions for your bottle allow it, use a diluted white vinegar solution to dissolve certain mineral deposits. Acetic acid reacts with mineral scale and makes deposits easier to rinse away.
Recognize When To Replace a Lid
After a thorough wash, smell the bottle body and lid separately once both pieces dry. If the body smells fresh but the cap still has an odor, you have narrowed down the problem. Inspect the gasket for tears or a roughened surface. A damaged seal traps residue more easily and may no longer keep the bottle leakproof.
Also check straws and spouts for cracks or stubborn buildup. If you see suspicious growth that you cannot fully remove, stop using the affected part. Replacing a lid costs less than discarding an otherwise sound bottle.
Make Daily Cleaning Easy Enough to Keep Doing
Choose a bottle-cleaning routine your household can follow on busy evenings. When everyone comes home tired, a complicated collection of brushes and soaking solutions will likely fall by the wayside.
If your child drinks smoothies or flavored drinks from the bottle, clean it promptly after use. These beverages leave more residue than plain water and require extra attention around the mouthpiece.
Once you understand why reusable water bottles still smell after washing, you can use a more practical solution. Clean the places water does not reach easily and give every part time to dry. Your bottle should return to school smelling fresh, without another expensive cleaning gadget on your shopping list.
Be sure to check out these other cleaning tips from Chemistry Cachet:

About the Author
Alexis Rochester is an investigative chemist, writer, mom of two, and founder of Chemistry Cachet. With a degree in Professional Chemistry and Mathematics and over 11 years of experience sharing science-backed home and lifestyle tips, Alexis specializes in making everyday chemistry simple and practical. Her work has been featured in USA Today, Southern Living, Reader’s Digest, and more. Through Chemistry Cachet, she shares affordable, effective cleaning solutions, skincare advice, and clever home care hacks to make everyday life easier. Follow Alexis on Instagram and Facebook for more science-backed tips, favorite product finds, and practical advice from a chemist mom!


Chemistry Hacks For Home and Outdoors
Quick hacks to save time, money, and eliminate unnecessary chemicals!
An easy to use eBook full of over 30+ DIY solutions for cleaning inside and out!